News
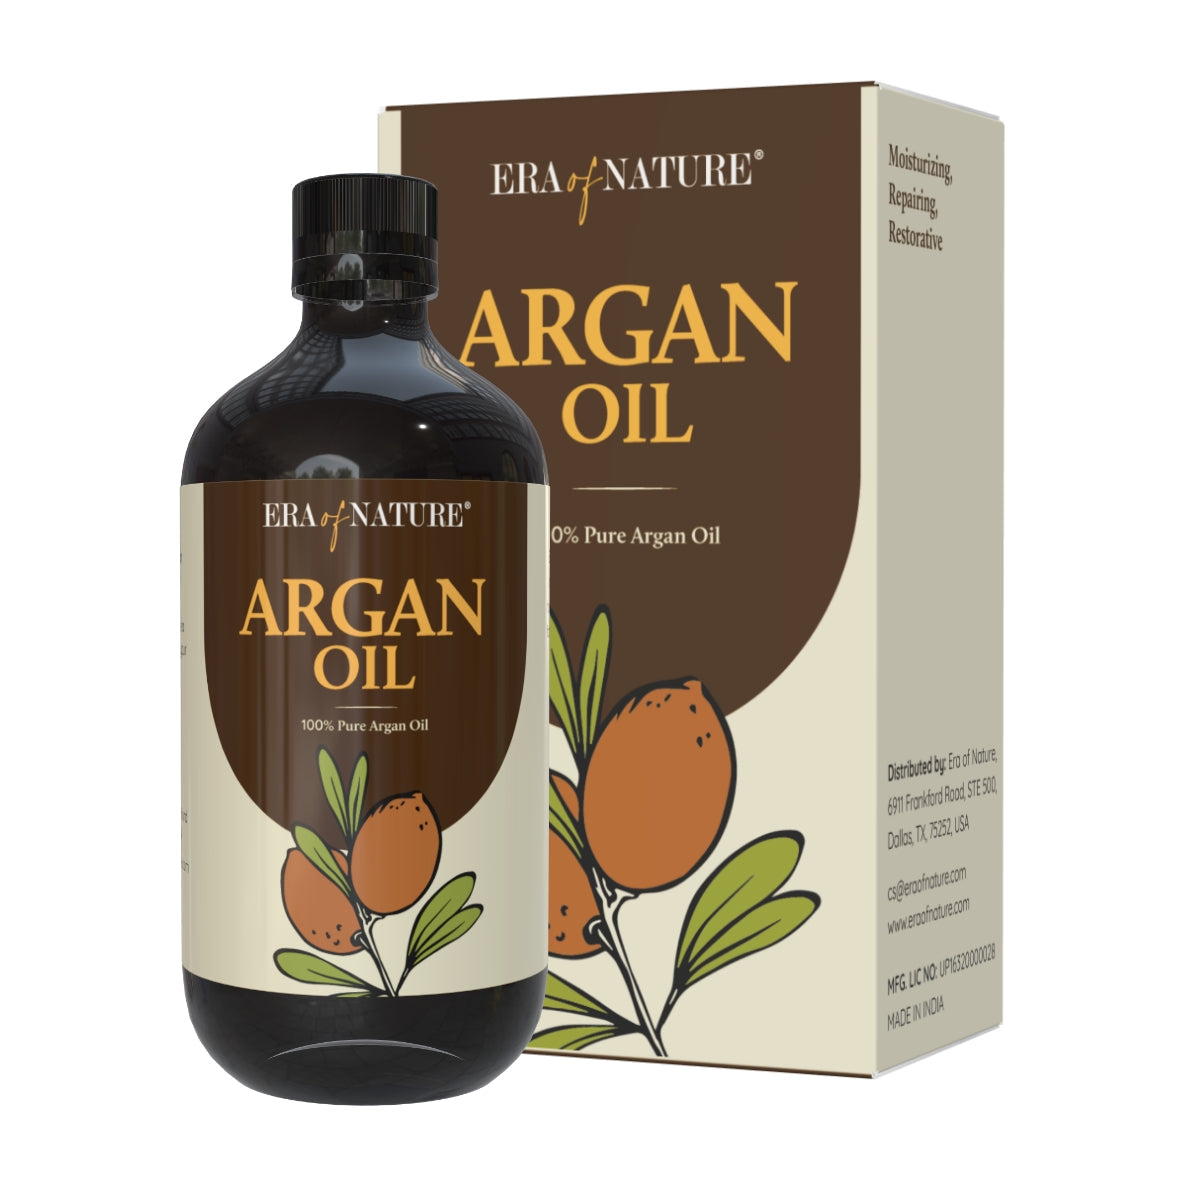
Cold-pressed oils are gaining popularity in the world of natural beauty, skincare, and holistic wellness. For a brand like Era of Nature, educating customers about these nutrient-rich oils is key to building trust and authority in the natural skincare space.
Learn more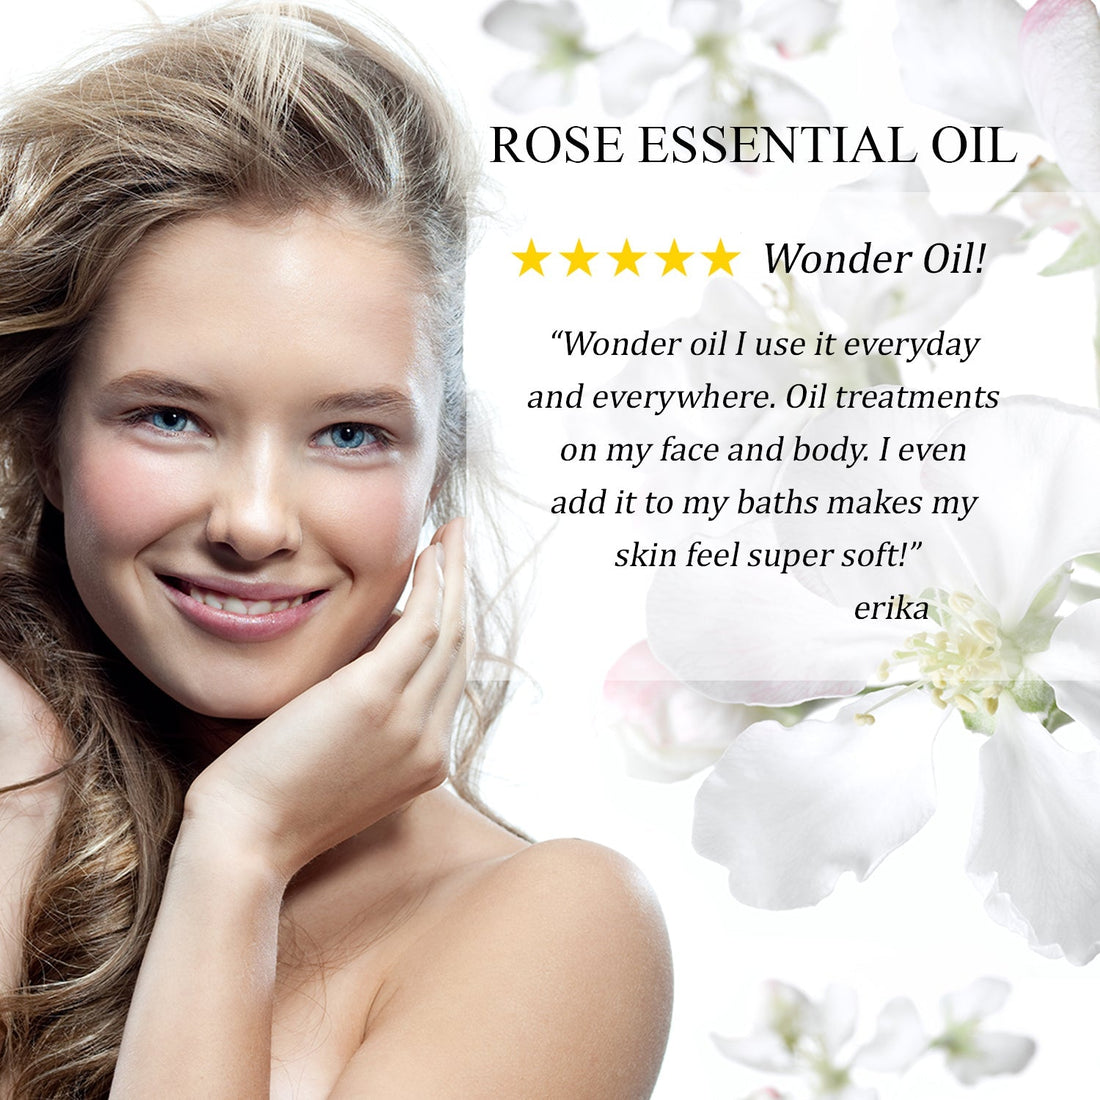
Essential oils have become an integral part of natural skincare, aromatherapy, and holistic wellness. For a brand like Era of Nature, understanding and educating customers about essential oils can build trust and establish authority in the natural skincare space. Here’s everything you need to know when choosing and buying essential oils. Understanding Essential Oils Essential oils are concentrated plant extracts obtained through distillation or cold-pressing. These potent oils capture the plant’s natural fragrance and therapeutic properties, making them widely used in: Skincare: Treating acne, reducing inflammation, moisturizing, and soothing skin. Aromatherapy: Enhancing relaxation, improving focus, and uplifting mood. Wellness: Supporting respiratory health, boosting immunity, and easing muscle tension. Each oil has unique benefits, and choosing the right one depends on your personal skincare and wellness goals. Factors to Consider When Buying Essential Oils Not all essential oils are created equal. Here are the key aspects to look for: Purity: Ensure the oil is 100% pure, with no additives, fillers, or synthetic fragrances. Sourcing: Check if the oils are ethically sourced and harvested from regions known for high-quality plants. Extraction Methods: Steam distillation and cold-pressing preserve natural properties. Avoid oils extracted with chemical solvents. Certifications: Look for certifications like organic, cruelty-free, or third-party lab testing to confirm authenticity. Packaging: Essential oils should be stored in dark glass bottles to protect them from light and heat. Top Essential Oils and Their Benefits Here are some popular essential oils and what they can do for you: Lavender Oil: Calming, promotes relaxation, soothes irritated skin. Tea Tree Oil: Antibacterial, effective for acne-prone skin, combats fungal infections. Rosehip Oil: Rich in vitamins A and C, great for anti-aging and scar reduction. Peppermint Oil: Invigorating, relieves headaches, and refreshes tired skin. Chamomile Oil: Gentle and soothing, ideal for sensitive or inflamed skin. Frankincense Oil: Supports skin elasticity, reduces appearance of wrinkles, and enhances meditation. How to Use Essential Oils Safely Because essential oils are highly concentrated, safe usage is crucial: Dilution: Always dilute with a carrier oil (like jojoba or almond oil) before applying to skin. Patch Test: Test a small amount on your inner arm before full use. Application Methods: Skincare: Mix with moisturizers or serums. Aromatherapy: Use in diffusers or inhalers. Massage: Blend with carrier oils for muscle relaxation. Precautions: Avoid direct contact with eyes, keep away from children, and consult a healthcare professional before use during pregnancy or for medical conditions. FAQs 1. How can I verify the quality of an essential oil?Check for third-party lab test results, look for clear labeling of botanical names, and ensure it’s packaged in dark glass bottles. 2. Are essential oils safe for all skin types?Some oils may irritate sensitive skin. Always do a patch test and start with gentle oils like chamomile or lavender. 3. Can essential oils be ingested?Most essential oils are not safe for ingestion unless explicitly approved for food-grade use and under the guidance of a healthcare professional. 4. Do essential oils expire?Yes, most oils have a shelf life of 1–3 years. Store them in cool, dark places to extend longevity. 5. Can essential oils replace medical treatments?Essential oils support wellness but should not be used as a substitute for medical care. By making informed decisions, you can confidently incorporate essential oils into your skincare and wellness routine. Era of Nature aims to guide you toward choosing high-quality oils that nurture both your skin and overall wellbeing.
Learn more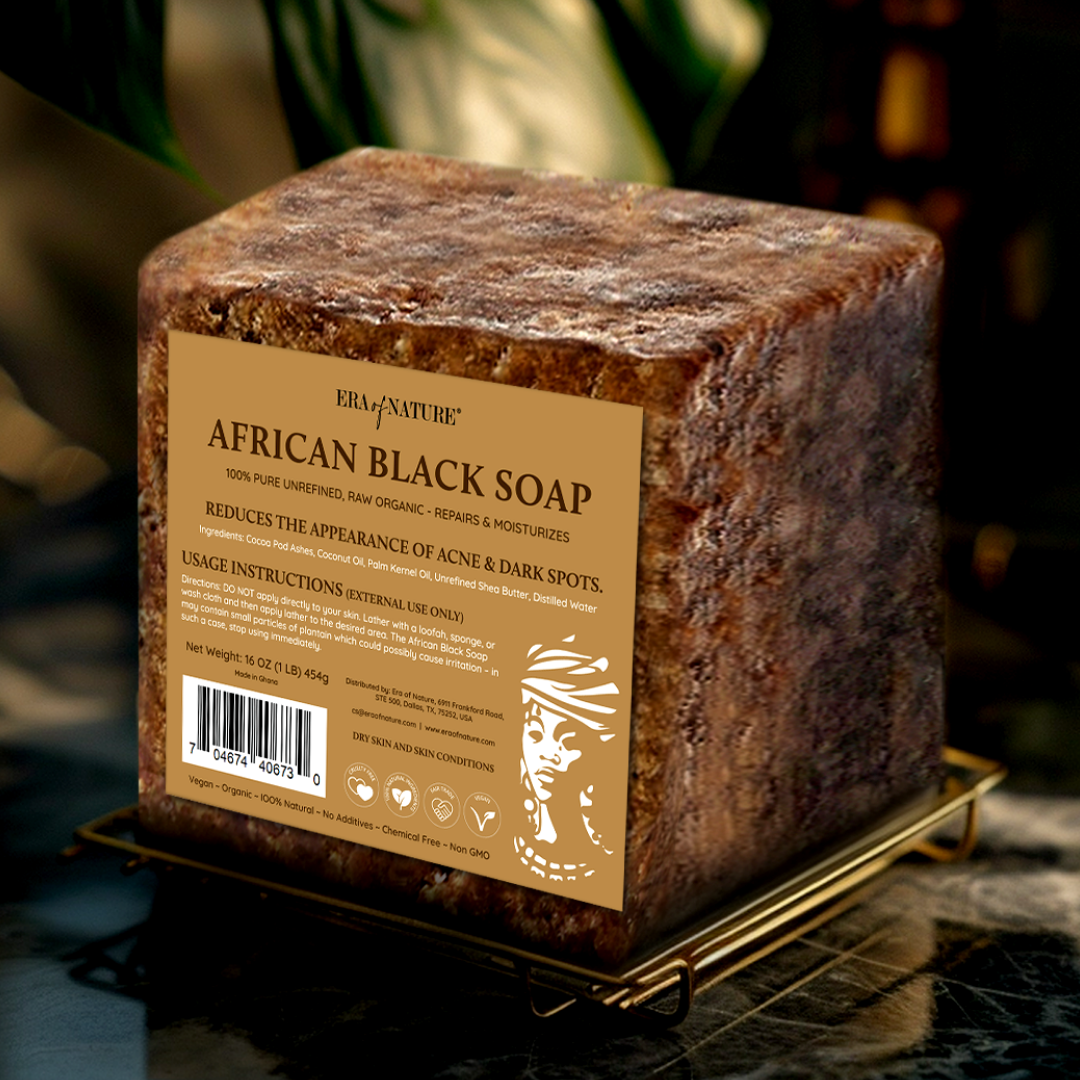
African Black Soap, a time-honored cleansing tradition, has made a significant impact on the modern skincare landscape. Here, we address the most common inquiries to help you get the most out of this remarkable product.
Learn more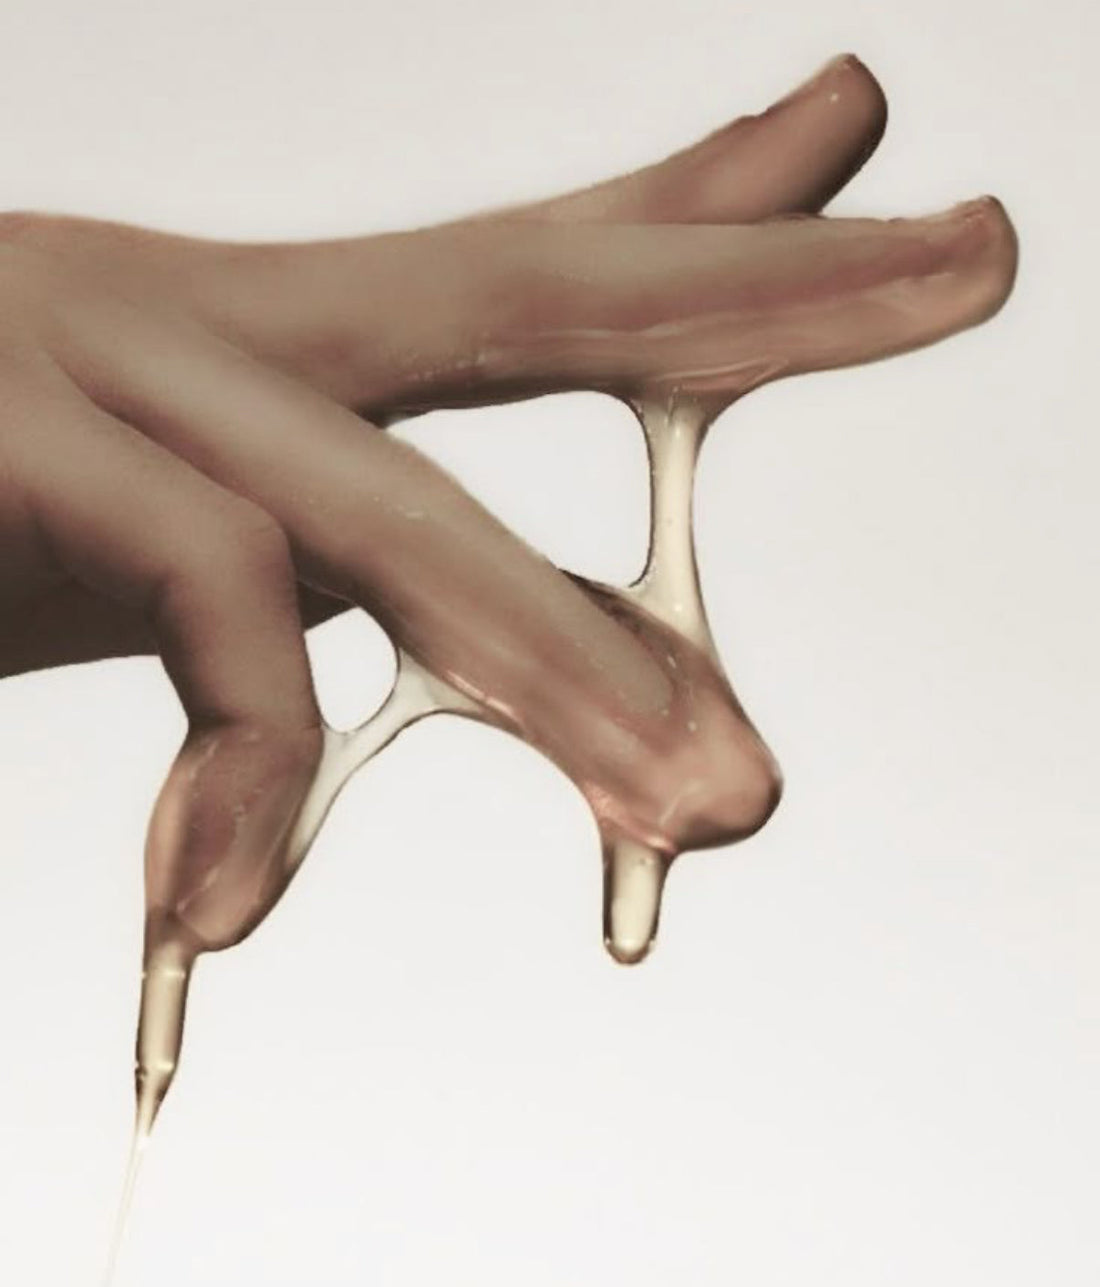
We’ve been testing DIY face masks, and this simple honey mask remains our go-to when our skin needs quick revival. It requires just a handful of kitchen ingredients but delivers incredible results. Why These Ingredients Work Raw Honey: Raw, unfiltered honey (or Manuka honey if you can splurge) contains enzymes and natural antibacterial properties that processed honey lacks. It's a natural humectant, drawing moisture into your skin while providing gentle exfoliation. Cinnamon: A small amount increases blood flow to your skin, creating a natural flush while helping to clear acne-causing bacteria. The gentle warming sensation means it's working. Lemon Juice: Brightens and helps fade dark spots. I've found fresh juice works better than bottled. Frankincense Essential Oil: This is what elevates this mask from simple kitchen remedy to serious skincare. Frankincense has been used for centuries to regenerate skin cells and reduce scarring. It adds a meditative quality to the experience as well, while elevating the results. What You'll Need: 2 tablespoons raw honey 1/4 teaspoon cinnamon 1/2 teaspoon fresh lemon juice 3 drops frankincense essential oil Small mixing bowl Measuring spoons How to Make It: 1. Measure honey into your bowl (room temperature honey is easier to work with) 2. Add cinnamon and stir until fully incorporated 3. Add lemon juice and mix 4. Drop in frankincense essential oil and fold into the mixture That's it - simple, but effective. How to Use It: 1. Start with a clean face 2. Apply the honey mixture evenly, avoiding your eyes 3. Leave on for 15-20 minutes 4. Rinse with warm water and pat dry 5. Follow with your usual moisturizer Notes from Experience: This mask won't harden like clay masks - it stays slightly tacky, which is normal. The cinnamon creates a mild warming sensation that most people find pleasant, but if you have very sensitive skin, try a patch test first. We keep any leftover mask in a small jar in the refrigerator for up to a week. The cold application feels especially good after a long day in the sun. When to Use It: - When your skin looks dull or tired - After too much sun exposure (store it in the fridge for extra cooling) - Weekly as preventative maintenance - When you notice the beginning stages of a breakout We’d love to hear your experience. Connect with us here or on instagram! xx Your Non-Toxic Beauty Team at Era of Nature
Learn more
Why Do Legs Get Swollen or Tired? Leg swelling and fatigue can result from various causes such as poor circulation, long hours of standing or sitting, pregnancy, heat exposure, and physical exertion. Understanding these factors helps explain why natural remedies like this cooling leg cream provide effective relief. How This DIY Leg Cream Helps This soothing cream blends ingredients with anti-inflammatory, moisturizing, and cooling properties—shea butter, coconut oil, aloe vera, green tea, peppermint, and lavender essential oils—to calm swelling and revive tired legs safely, including during pregnancy. Ingredients for the Cooling Leg Cream (with Links) 1/2 cup (120g) shea butter [Shop Shea Butter] 1/4 cup (60ml) coconut oil 2 tablespoons (30ml) aloe vera gel 1 tablespoon (15ml) strong-brewed green tea, cooled 1/2 teaspoon vitamin E oil 4 drops peppermint essential oil [Shop Peppermint Oil] 3 drops lavender essential oil Step-by-Step Preparation Instructions Step 1 – Brew and Cool Strong Green Tea Start by brewing a strong cup of green tea using two tea bags. Allow it to cool completely before using it in the recipe. The green tea adds natural anti-inflammatory properties to help reduce swelling. Step 2 – Melt Shea Butter and Coconut Oil Create a simple water bath by filling a pot with about 2 inches of water and bringing it to a gentle simmer. Place shea butter and coconut oil in a heat-safe bowl on top of the water bath. Stir occasionally as the oils gently melt, careful not to overheat them. Step 3 – Cool the Oils Until Soft Remove the bowl from heat and let the oils cool for about 15 minutes. The mixture should be soft but not completely liquid to make whipping easier. Step 4 – Whip the Butter and Oil Mixture Use a hand mixer or stand mixer to whip the oils until they become fluffy. This process creates a light, airy texture that feels great on the skin and spreads easily. Step 5 – Gradually Add Green Tea and Aloe Vera Gel Slowly add the cooled green tea and aloe vera gel while continuing to whip the mixture. These ingredients boost hydration and add a refreshing cooling effect to the cream. Step 6 – Mix in Vitamin E and Essential Oils Add vitamin E oil along with peppermint and lavender essential oils. Peppermint delivers a gentle cooling sensation, while lavender offers calming effects—both safe and soothing for pregnancy use. Step 7 – Continue Whipping Until Creamy Keep whipping until the cream becomes visibly lighter in color and develops a fluffy, smooth texture. This final texture makes application easy and comfortable. Step 8 – Store in a Clean Jar Transfer the finished cream to a clean jar with a tight lid. Avoid packing it down tightly to keep the whipped consistency intact. Store it in the refrigerator for an enhanced cooling experience. How to Use Your DIY Leg Cream Apply to clean, dry legs or slightly damp skin after showering. Use gentle upward strokes to massage the cream onto legs, ankles, and feet. Focus extra cream on swollen or tired areas like ankles. Elevate your feet during or after application for maximum relief. Use as often as needed, especially at the end of the day or before bed. Storage Advice For an extra soothing effect, keep the cream refrigerated. This is especially refreshing on hot days or after physical activity.. Frequently Asked Questions (FAQ) Can I use this cream during pregnancy? Yes, all ingredients and essential oils are in pregnancy-safe amounts. How often should I apply the cream? Apply whenever you experience tiredness or swelling, typically daily or as needed. Does refrigerating the cream increase its effectiveness? Yes, chilling enhances the cooling sensation and soothes the skin further. What essential oils help reduce swelling? Peppermint oil helps cool and refresh, while lavender oil calms irritation and promotes relaxation.
Learn more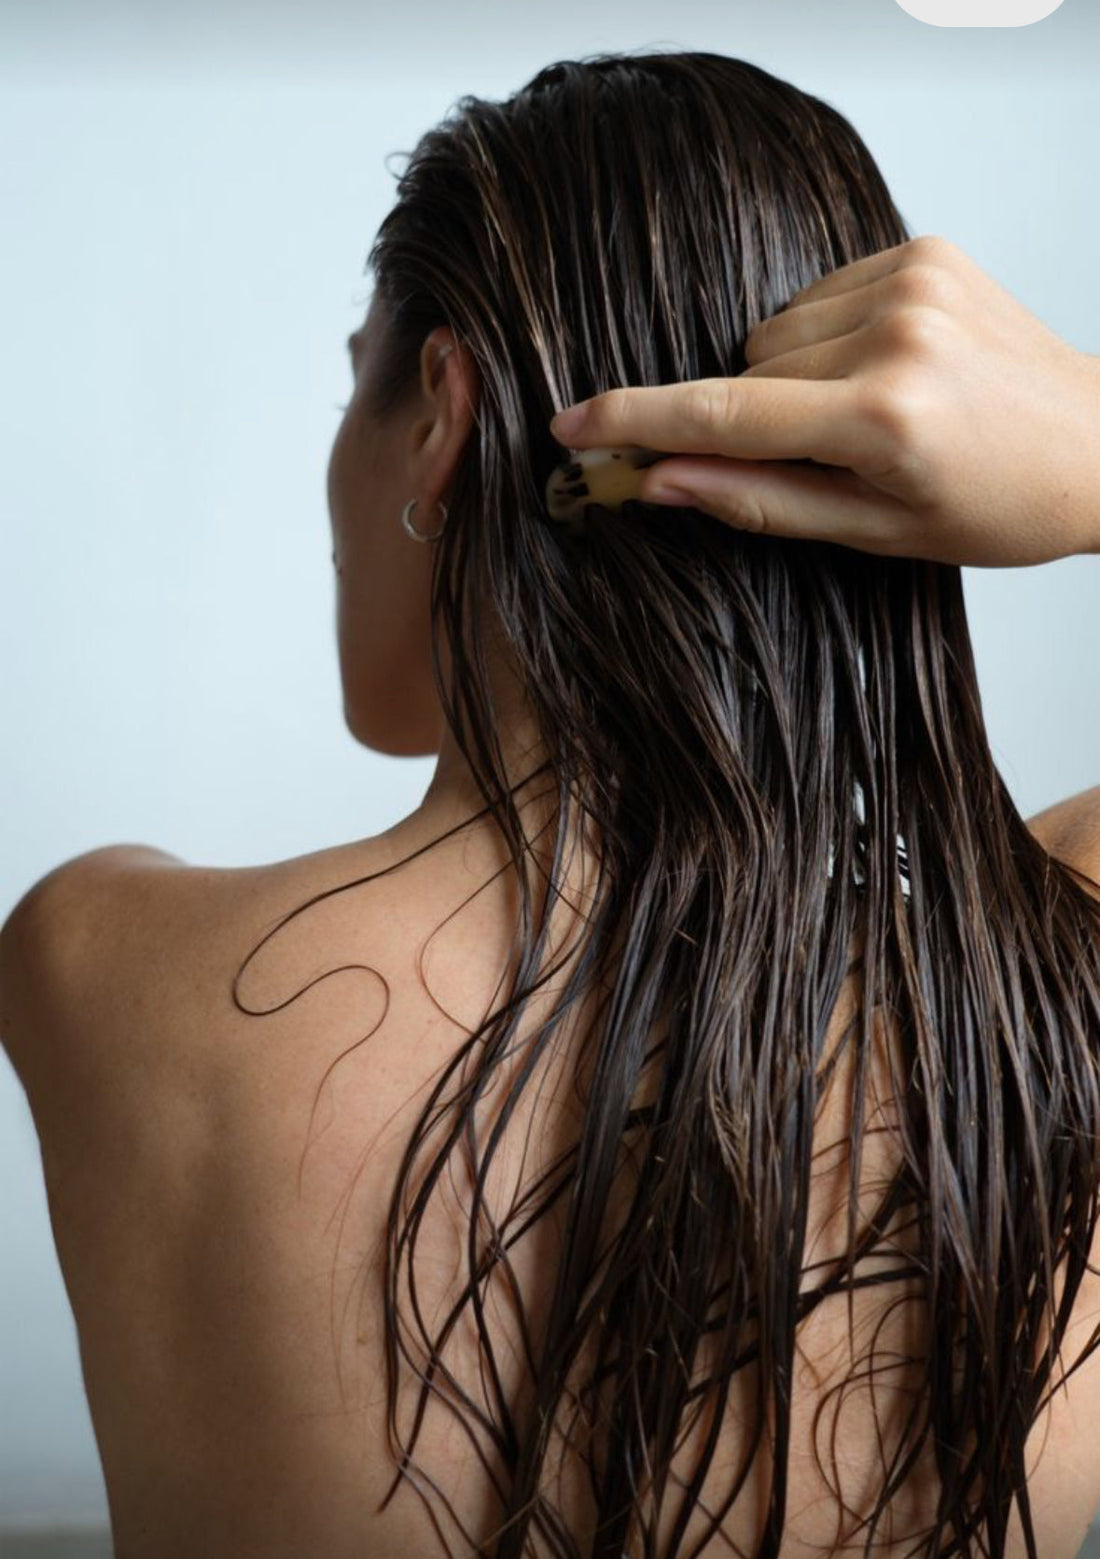
If you've been looking for a natural way to get healthier, stronger hair, Batana oil is perfect for you. Before we dive into how to use it, let's talk about why this oil deserves a spot in your hair care routine: Hair Growth Support: Batana oil is rich in vitamin E and omega fatty acids that nourish your scalp and support healthy hair growth. Deep Moisture: It hydrates hair without leaving it greasy, making it perfect for all hair types - from fine and straight to coarse and curly. Split End Care: Regular use helps prevent and smooth split ends by sealing in moisture and protecting hair from damage. Frizz Control: Batana naturally tames frizz while adding a healthy shine. Great to use on flyaways. Scalp Health: Its natural properties help maintain a healthy scalp environment, which is key for growing strong, healthy hair. Heat Protection: Using a bit before heat styling helps protect your strands from damage. How to Use It Batana oil comes in both liquid and solid forms, giving you options for different hair needs: Daily Care: • Add a few drops to damp hair after washing • Use as a styling oil to smooth flyaways • Mix into your regular conditioner for extra moisture • Apply directly to your scalp for growth support Deep Treatment: • Use as an overnight hair mask • Warm between your hands and work through ends • Mix with your favorite hair mask • Use before swimming to protect hair Real Tips From Our Experience: • Start with less than you think you need - you can always add more! • Apply to damp hair for best absorption • Focus on your ends if you have fine hair • Store in a cool, dark place to keep it fresh • For intense treatment, warm the oil slightly before using • Use regularly (2-3 times a week) for best results • Great for protective styles and braids Making the switch to non toxic options: Unlike many commercial hair products that coat your hair with silicones, Batana oil actually penetrates the hair shaft, providing real nourishment rather than just temporary shine. It's a true treatment, not just a quick fix. Quality Matters Look for: • Pure, unrefined Batana oil • No added chemicals or fragrances • Dark glass packaging • Cold-pressed when possible Give your hair this natural boost and let us know how it works for you! You can shop our batana oil HERE. Share your experience in the comments or tag us in your hair care routine videos on Instagram. xxYour Non-Toxic Beauty Team at era of nature
Learn more
If you're looking for a simple, natural way to care for your skin and help prevent/fade stretch marks, we've got you covered. This homemade cream combines simple, ingredients that work together to keep your skin healthy and moisturized. Why We Love These Ingredients Instead of using store-bought creams filled with ingredients we can't pronounce, we prefer to stick with natural options that are gentle on our skin and good for our health. Mango Butter: Full of vitamins A and E that help keep skin soft and support its natural healing process. It absorbs easily and doesn't leave your skin feeling greasy. Almond Oil: Rich in vitamin E and good fats that help nourish your skin. It's light and works well for everyday use. Vitamin E Oil: Helps protect your skin and supports its natural renewal process. Arrowroot Powder: Gives the cream a nice, smooth texture without any synthetic thickeners. Aloe Vera Gel: Adds extra moisture and helps soothe your skin. What You'll Need: 1/4 cup mango butter 1 tablespoon sweet almond oil 1 teaspoon vitamin E oil 1 tablespoon arrowroot powder 1 tablespoon aloe vera gel How to Make It: 1. Set up your double boiler (or get a microwave-safe bowl if you're in a hurry) 2. Melt your mango butter slowly - keep an eye on it so it doesn't get too hot 3. Pour the melted butter into a mixing bowl 4. Add all your other ingredients 5. Whisk everything together for about 2 minutes 6. Put the bowl in the fridge for 15-20 minutes 7. Take it out and whip it with a mixer until it's nice and fluffy 8. Transfer to a clean glass jar Real Tips From Our Kitchen: • The cream might feel a bit firm if your house is cool - totally normal! Just warm a small amount between your fingers before applying • If your cream gets too soft in summer, store it in the fridge • A little goes a long way - start with a small amount and add more if needed • Clean jars are super important - we like to rinse ours with boiling water first • You can add 2-3 drops of your favorite essential oil if you want a specific scent (we love lavender or sweet orange!) How to Use It Apply the cream twice a day on clean skin that's slightly damp. Take a minute to rub it in using circular motions - this helps it absorb better and feels nice too. Focus on areas where you have or tend to get stretch marks. Making your own skincare doesn't have to be complicated. This cream is proof that a few good ingredients can do the job just as well as fancy products - without any unwanted extras. Let us know what you think! Drop a comment below or share a photo with us on Instagram if you make it. xx Your Non-Toxic Beauty Team at Era P.S. Want more simple DIY beauty recipes? Check out our DIY candle post (it doubles as a body oil)!
Learn more
If you’re new to essential oils, you might be wondering, where do I even start? With so many options and uses, it can feel a little overwhelming. But don’t worry, essential oils are actually super simple to use, and once you get the hang of it, they’ll become a natural part of your routine. The best part? They’re incredibly versatile. You can use them on your skin, in your home, or just to create a calming vibe. Let’s break it down so you can start using essential oils with confidence. How to Use Essential Oils on Your Skin One of the easiest ways to use essential oils is applying them directly to your skin. You can dab a drop on your wrists for a natural perfume, rub some on a bug bite, or even use them to help fade scars. But—and this is important—most essential oils are super concentrated, so you’ll want to dilute them first with a carrier oil or other base before applying. Best Carrier Oils & Bases: If you’re using essential oils topically, here are some great options for mixing: • Oils: Jojoba, coconut, cacao butter, rosehip, almond, raspberry seed • Aloe Vera: Lightweight and soothing—perfect for sensitive skin • Alcohol: Works well for DIY perfumes and room sprays • Vinegar: Great for skincare and even hair rinses Pick your base, mix in a 5-20 drops of essential oil depending on size and potency you’re going for, and you’re good to go! Easy Ways to Use Essential Oils Without Applying to Skin If you’re not into using oils on your skin (or just want more ways to enjoy them), there are tons of other ways to incorporate them into your day. Here are some of my favorite non-topical uses: 1. Shower Steam Hack Add 2-3 drops of essential oil to the floor of your shower before turning on the hot water. The steam will spread the scent, making your shower feel like a fancy spa. Eucalyptus is amazing for congestion, while lavender is perfect for winding down at night. 2. Diffuser Magic If you haven’t tried a diffuser yet, trust me—you’re missing out. Just fill it with purified water, add a few drops of essential oil, and let the cool mist do its thing. Your whole space will smell amazing in minutes. 3. Stovetop Simmer This is one of our favorite tricks! Just simmer a pot of water on the stove, add a few drops of essential oil, and let the scent fill your home. I love throwing in citrus peels and fresh herbs for an extra boost—lemon and rosemary together. So good. 4. Fabric Freshener • Pillow Drops: Put a drop of lavender or chamomile on your pillow before bed to help you relax. • Meditation Cloth: Try placing a drop of sandalwood or rose on a cool, damp cloth and draping it over your face while you meditate. If you’re just getting started, pick one or two oils that match your vibe—like lavender for relaxation or rose for a mood boost—and start experimenting. Before you know it, your collection will grow and become a part of your daily routine. FAQ 1. Can I apply essential oils directly to my skin? No, essential oils are highly concentrated and should always be diluted with a carrier oil like jojoba, coconut, or almond oil before applying to the skin to avoid irritation or allergic reactions. 2. What’s the easiest way to use essential oils for beginners? Using a diffuser or adding a few drops to a warm shower (for steam inhalation) are the simplest and safest methods to start experiencing essential oils daily. 3. Can I use essential oils in my cleaning or home routine? Yes, essential oils like lemon, tea tree, and lavender can be added to DIY sprays, linen refreshers, or stovetop simmer pots to naturally freshen your space. 4. How do I know if an essential oil is high quality? Look for oils labeled as 100% pure, undiluted, and preferably sold in dark glass bottles. Also check for botanical names and sourcing information from reputable suppliers. 5. Are there essential oils that are better for sleep or stress relief? Yes, lavender, chamomile, and sandalwood are commonly used for relaxation and better sleep. You can diffuse them before bed or add a few drops to your pillow or a warm bath. Got a favorite way to use essential oils? Let us know! Share with us on instagram and Tik Tok! xx
Learn more